Showing posts with label philppines. Show all posts

Mt. Balagbag: Easy and Complete DIY Guide


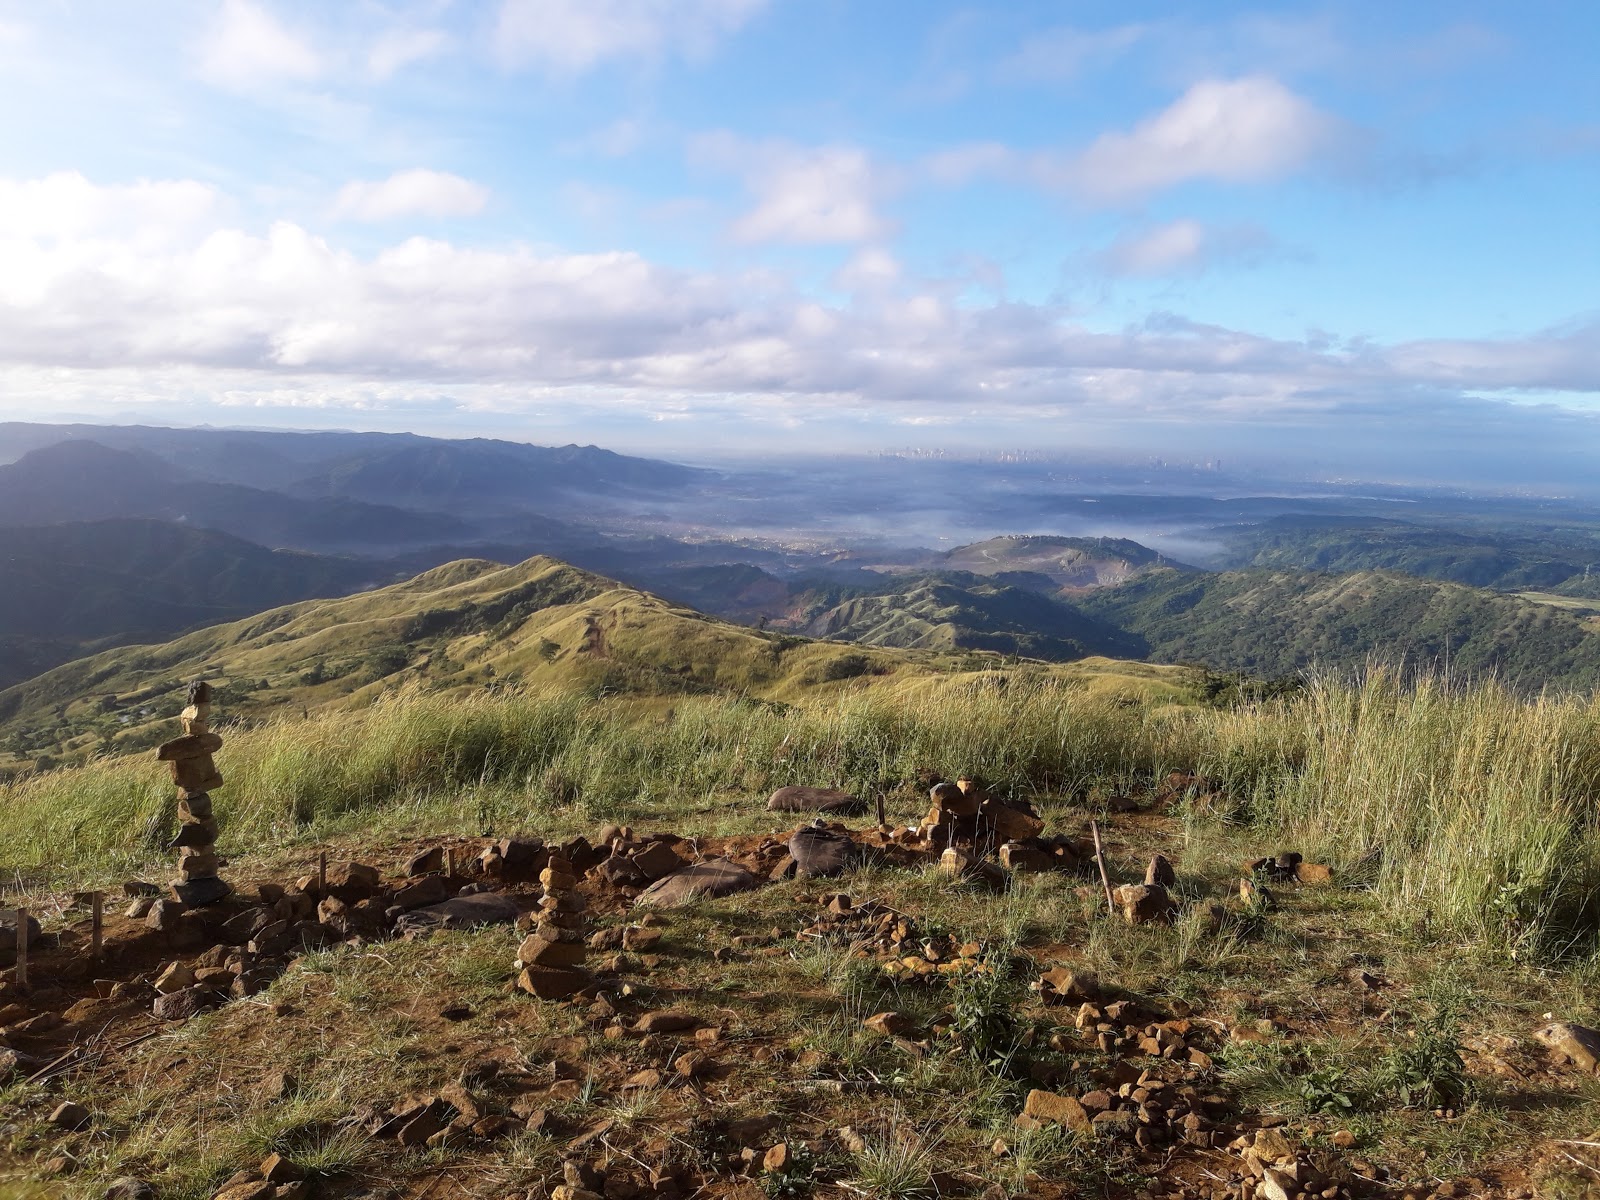
stone cairns

Life is all about making choices. If you have P500, how would you spend it? Either you choose to buy a venti frappe complemented by a slice of blueberry cheesecake with few coins to spare, or watch a movie in the cinema and buy a large butter popcorn and drinks. 

But wait, we have a better option aside from all that. How about you spend that money on a quick getaway near Manila? A place where you can inhale fresh air and just be mesmerized by the stunning city lights at night and the Sierra Madre mountains in the morning?

Then let us introduce you to one of our favorite mountains, Mt. Balagbag. 

Quick Facts

Height? 777 MASL according to Pinoymountaineer.com
Trail Difficulty? 3/9
Jump-off? Barangay Hall, Sitio Balagbag
Roped Segment? NONE
Guide? Not required but available at the Brgy. Hall
Beginner friendly? 100% YES!

Mt. Balagbag is one of the numerous landforms connected to the Sierra Madre Mountain Range. It offers a spectacular view of the Sierra Madre mountain range to one side and the picturesque city of lights of Metro Manila. It is located in Sitio Balagbag, in the city of San Jose del Monte in Bulacan.

By far, Mt. Balagbag is one of the easiest yet wonderfully beautiful mountains near Manila.

The Team

The bloggers
Pearliloo and Iantot, the restless soles of Balagbag
There are only two of us in our climb. Our climb date was November 27-28, 2017. 

How to get There

  1. Ride a bus going to Tungko
  2. Alight at Tungko, then go to BDO building. There is a jeepeney terminal behind it.
  3. Go directly to the last line of jeepneys and look for those with Licao-Licao signboard. Fare is 27 pesos, one hour travel time
  4. From Licao-Licao, you may choose between riding a trike which will cost you 30 pesos each (5-10 minutes) or just walk to the barangay hall which is considered the official jump-off (20 - 25 minutes).

Tale of the Trail

the trail of balagbag
The initial part of the trail
The trail from the jeepney terminal to the barangay hall is a rough road with minimal ascent. It is well established since Sitio Balagbag is still up ahead and locals constantly ply through it. 

It will take you about 20 - 30 mins to reach the Barangay hall if you decide to walk. For us, we chose to walk for a  more fulfilling experience since the trail from the jump-off to the summit will be just an hour long. 

Barangay hall of Sitio Balagbag
Barangay hall serves as the registration area for climbers
Everyone is required to register at the barangay hall and pay the registration fee of 20 pesos  per head. For everyone's safety, it is prudent to list down all the names of members of your team and save the cellphone number of the person in charge in case of emergency. 

From the barangay hall, the trail becomes a bit steeper but still manageable. However, it is more exposed than the previous part of the trail so sun exposure will surely be an issue during the hottest part of the day. 

Sunset at the trail
The trail to the summit
About a half kilometer before the summit, you will pass by a sari-sari store. It serves as a second registration area which will require you to pay the additional 20 pesos per head if you want to spend the night at the summit. At the left side of the second registration, continue walking on the trail until you find a gate. This path will take you directly to the summit. On the way up, you will pass by some nipa huts and other man-made structures.

entrance to summit
The gate to the summit

The Summit

The best way to appreciate Mt. Balagbag is to spend the night at its summit. Be mesmerized by the Manila Skyline at the distance that gives a very romantic vibe to anyone. Though I want to share everything, my photography skills cannot give justice to the view that we had seen atop Mt. Balagbag.

Manila skyline
Poor photography skill
Since it was already sunset when we arrived at the summit, we quickly pitched our tent and prepare our dinner. We did not have much time to explore the summit so we just waited until the next morning to do just that. 

The blogger making dinner
Our dinner, luncheon meat and rice
Funny thing is that, we had everything we need. We even brought our beach mat just for comfort but we totally forgot to bring utensils so we have no choice but to eat with our bare hands. 

The sky decided to give us a light rain shower that night so we have to call an early lights out. 

We finally had our chance to explore the summit the next morning. There are numerous nipa huts in the summit. According to the locals, it was constructed for other climbers who do not have tents with them. We are yet to know if there is a fee to use those huts since no one really supervise it.

Preparing breakfast
Start your day right! Drink Milo everyday. hahaha!
Nipa Huts in Mt. Balagbag
Nipa huts at the summit of Mt. Balagbag
Aside from the summit itself, there are lots of interesting things to see. 

Stone cairns in Mt. Balagbag
Stone cairns or better yet, stone stacks

First, there are lots of stone cairns at the summit and the path going down. Stone cairns are used by people for different purposes. One of which is to tell other hikers the right path. NOTE: Do not stack stones just for the fun of it. It may cause people to get lost in the wilderness. Luckily, Mt. Balagbag is not circuitous so getting lost is not really a problem. 
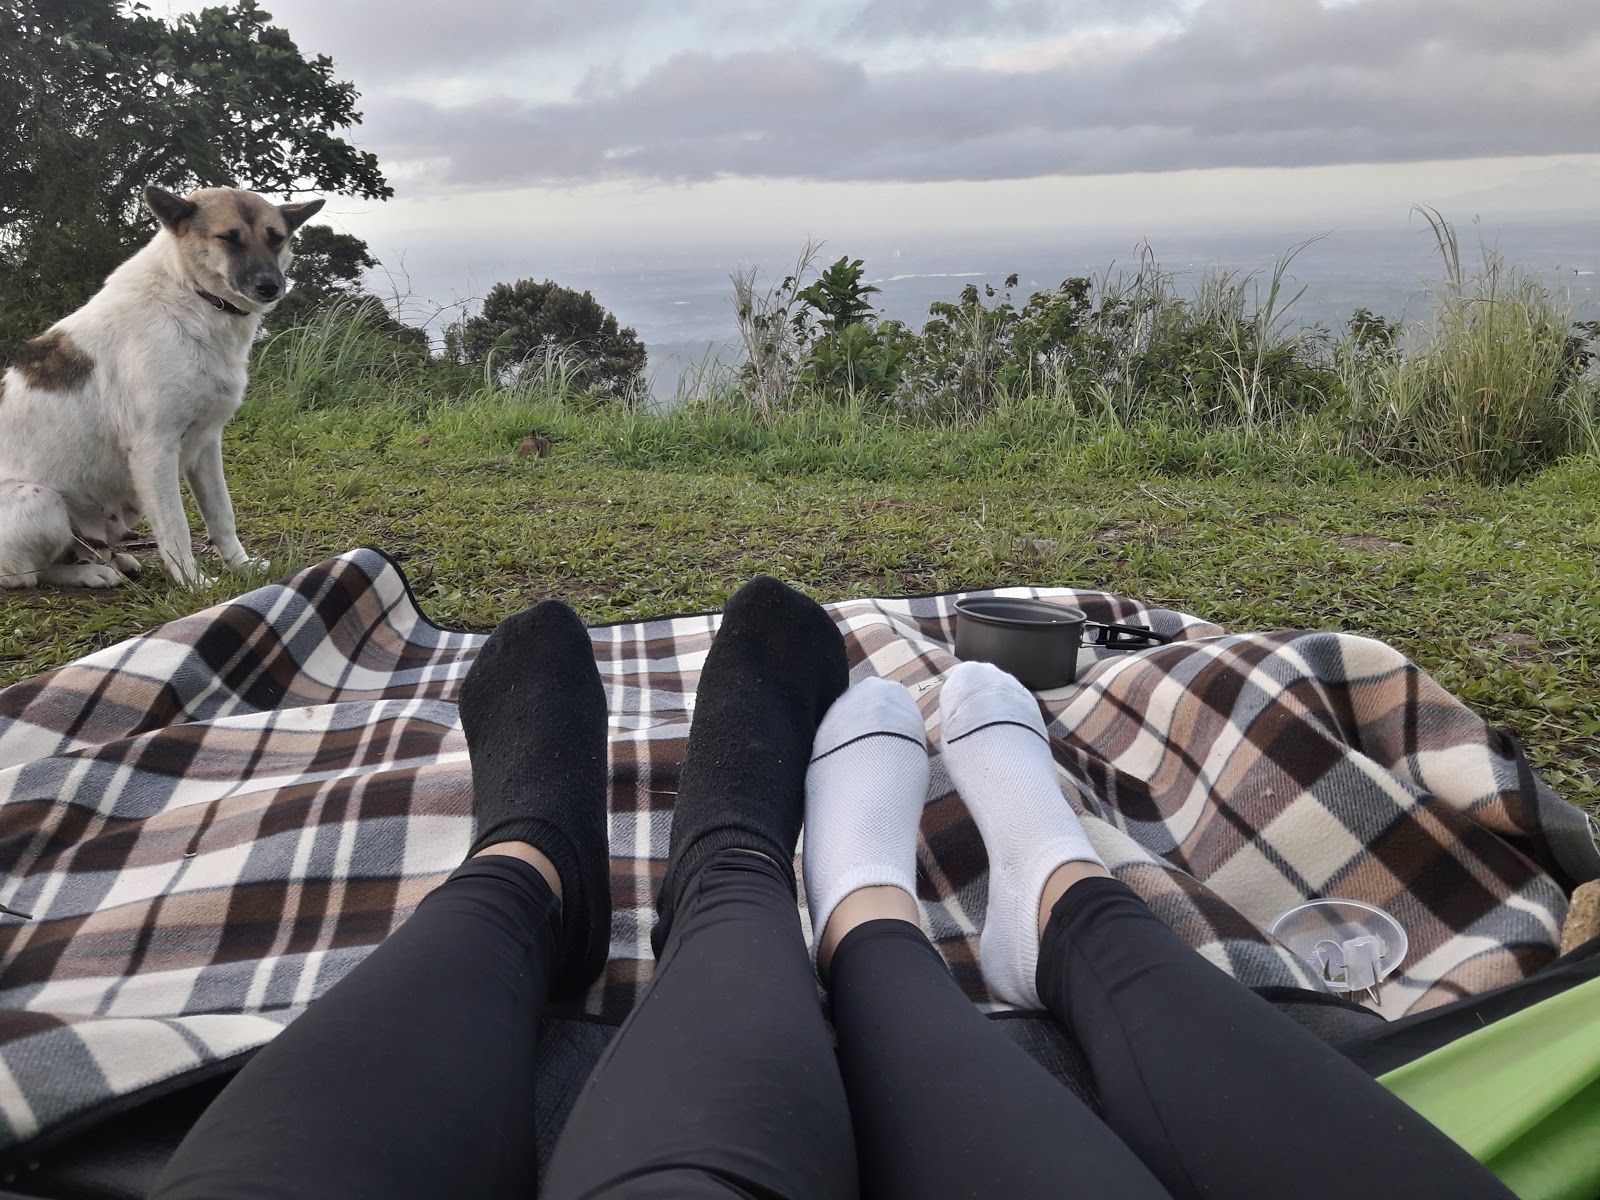
Dogs and cats of Mt. Balagbag


Dogs and cats of Mt. Balagbag
The "fauna" of Mt. Balagbag
By "fauna", what we really mean are the dogs and cats of Mt. Balagbag. Cute doggos kept as company during the night and all morning. We even had an experience when a small puppy took shelter in the second wall of our tent. The most popular of them is the orange cat which has the moniker "Garfield". This cat is really accustomed to the company of climbers that it will comfortably approach you to have a back scratch. 

Going Down

The hike going down is a lot faster and easier which will only take you less than an hour to reach the jump-off point. However, the beautiful sceneries kept our pace slow and enjoyable. On the way down, the UNIVERSE GRANTED US a double rainbow. 

The blogger summoning something
Pearliloo's special skill: Ability to summon rainbow
The wind blowing the hair of the blogger
Feel the wind blowing
Shower facilities and stores are available at the barangay hall. There are also food stalls and carinderia if ever you feel hungry. 
It took us almost an hour since we deliberately slowed down our pace. Always remember that the destination is not everything there is. The process of going there, the travel, is sometimes more important than your destination. After using the facilities, we decided to ride the trike so that we will not be sweaty, (and smelly) by the time we reach the bus stop. 

We bid our farewell to the people at the barangay hall, and rode the trike with satisfied hearts. As we look back, we longingly declare, we will be back.

- Pearl and Adrian, March 2018

Tip and Concerns

  1. As always, practice LNT Principle. If you are not familiar with it, I suggest you research for it first before climbing a mountain. The mountaineer's creed; Take nothing but pictures, leave nothing but footprint and kill nothing but time.
  2. DO NOT UNDERESTIMATE A MOUNTAIN. Even if we say that this is an easy mountain, it doesn't mean that you should not prepare for it. Take note that the difficulty of the mountain is all about the condition of your body and your equipment. 
    the sole of a mountaineering shoe fell off
    RIP Shoes
  3. Always register and get the contact number of the people at the registration in case of emergency.
  4. The entire trail of Mt. Balagbag is relatively short, compared to other Rizal mountains. Since the highlight of the climb is usually the city lights and the sunrise the next day, I advise you to start your trek at around 4PM. Hiking too early will mean that you will have to spend more time at the summit under the sun.

CRIMES at Mt. Balagbag

The most compelling reason that some climbers avoided Mt. Balagbag now are some cases of theft in the area. And last January 2018, the mountain witness yet another case of robbery and physical injury done by scoundrel to our fellow climbers. In light of this event, some climbers were proposing a temporary boycott on the mountain until the case is resolved. 

We climbed this mountain with only two of us in the team. Luckily, we did not experience any of it. 

Here are some suggestions
  1. Have a large group. Large groups usually deter robbers and thief from approaching the camp
  2. REGISTER so local officials know where you are.
  3. Tell people at home where you are going and what time you should be back at home. 
  4. Avoid hiking late at night
Despite everything, I want you to understand that this mountain is calling upon us. Everything will be back where it should be, in the future. So what are you waiting for? Let's go and make memories!

Mt. Tagapo: A Complete DIY Guide

Tagapo: A mountain in an island

Laguna de Baie seen from Mt. Tagapo

There are times that almost everything just gets in your nerves. That's the sign that you need a time off, away from the bustles of your fast-paced existence. It's time to go somewhere isolated, where you can stretch your cramped muscles and make your heart race. 

Now, the question is, where can we find such place? The answer: Mt. Tagapo


Mt. Tagapo, or to quote Jose Rizal, "Susong Dalaga", is located in the island of Talim in Laguna de Baie. Compared with other mountains in CALABARZON, it is less crowded with climbers. 

This mountain offers a very different experience as you have to ride a barge for an hour to reach the jump off. Enjoy the stunning view of Laguna de Baie and the city lights of nearby Metro Manila.


Background

Jumpoff point: Brgy. Janosa, Binangonan, Rizal
Trail Difficulty: 2/9
Height: 438+ MASL
Trail Class: 1 - 2
Guide: Required, P500 for dayhike, P800 for overnight
Beginner Friendly? Definitely!

Mt. Tagapo is located in Talim Island, the largest island in Laguna de Baie. It is within the municipality of Binangonan, Rizal, about 33 KM south of Metro Manila. 

The Team


The bloggers at the summit of Mt. Tagapo
Pearly and Iantot, the Princess and the Pauper
The date of the climb was February 18, 2017, Saturday. There are only two of us in the climb party.  

HOW TO GET THERE

Slow ride to Brgy. Janossa
Barge Ride to Brgy. Janossa
  1. Go to Starmall, Shaw Boulevard
  2. From Shaw Boulevard, ride a jeepney going to Binangonan, Travel time 1 - 1.5 hours, fare P35.00
  3. Alight at Binangonan Port
  4. From Binangonan Port, ride a barge going to Brgy. Janosa, Travel time 45 min - 1 hr, fare P30
  5. Register at the barangay hall and secure a guide
Note: The barge ride is not really long. However, the travel time is usually lenghtened due to numerous stopovers to different barangays in Talim Island. You can opt to alight in the very first barangay then ride a tricycle to Brgy. Janossa. However, we recommend you to choose the first option to have a fuller experience. 
Brgy. Janossa registration area
Barangay Hall, jump-off point to Mt. Tagapo
The Trail

trail going to Mt. Tagapo
The initial part of the trail cuts through residential area. You will pass by the elementary school and the community clinic on the way to the trail head. As of the writing of this blogpost, hiring a guide is now required. (See Background). This segment is cemented and will be only a small portion of the climb. After 10 - 15 minutes, you will reach the end of the cemented path and the real climb begins. 

The trail is mostly gentle ascent through a wooded area. From Brgy. Janosa, it will take you about 1.5 - 2 hours to reach the summit of Mt. Tagapo. Majority of the trail leading to the main campsite is shaded so no worries of getting sunburned

The first sign that you are halfway through is the big mango tree. Here, you can take a breather and maybe a quickbite. In our case, we decided to continue on since it was already 8PM when we arrived at the mango tree and the sky decided to bless us with too much rain. 

The second part of the trail is a grassland. Reaching the grassland means that the main campsite is just 10 - 15 minutes away. The main campsite is a bit narrow as it can only accommodate 3 - 5 tents at a time. 

We immediately pitched our tent and prepared our dinner upon arrival. The thunderstorm was gaining momentum so we have to be fast. 


The blogger cooking at the mountain
The blogger practicing his culinary skills

DINNER RECIPE

Century Tuna
Luncheon Meat
Rice

The Summit

The summit of Mt. Tagapo is just 10 - 15 minutes way from the campsite. The trail going to the summit is a bit trickier than the first. The trail steepness now range from gentle to about 60 degrees. However, the rewards waiting for you at the summit overshadows the task. 

We were only given a short window to enjoy the summit. It was raining all night so when the morning came, the summit was shrouded with low clouds. Visibility in the main campsite was so poor that we almost decided to just skip the summit assault. However, the rain pettered out and the clouds dispersed. We left our things in the tent then alternately ran and walked to the summit, hoping to reach it before the clouds set in again.

The blogger on the way up


The main campsite is visible from this photo. (the orange dot on the background). 

10 minutes later, after many near-slips, we finally reached the summit. 

The bloggers at the summit

The Princess and the Pauper 

Note: You can create field expedient poncho using a garbage bag. Just make sure that you will dispose it properly after use. 

We spent about an hour (we really enjoyed the view) on the summit. From the vantage point, you can see the distant high-rise buildings of Manila, Mt. Sembrano and the expanse of Laguna de Baie.

Relationship goals
Mt. Tagapo

The Descent 

On the way down, all you have to do is to backtrack the trail. According to our guide and other locals, a new trail is in development so you can do a traverse. Watch out for it in the future. The descent took us only about 45 minutes to reach the registration area. There are facilities available at the registration area where you can wash up and eat before you go back to Manila. 

Too Many Goodbyes!


Mt. Tagapo, semi-covered with clouds

It was already late morning when we finally left the island. The feeling was bittersweet as the boat slowly pulled away from the quay. We looked back and saw the island fading in the distance. We bid our farewell, and look forward for new adventures. 

THINGS TO CONSIDER

  1. If planning a day hike, make  sure that you reach the port early as the barge has to be full before it sails. 
  2. Due to its relative isolation, it is quite difficult to leave the island immediately in case of emergency. You'll have to charter a barge if you have to do so which will cost you about P1,500.00.
  3. Practice the LNT Principles all the time. 
  4. And most importantly, keep a positive attitude. Your state of mind will decide the quality of your trip. Even the sunniest day will be dampened if you look at all things negatively. 

Hey, now that we are at the bottom, what are you still doing here? Grab your backpack now and just go! Don't forget to share, like and subscribe to our blog. 

Top Five Mountains to DIY for Beginners

Are you thinking of going more outdoorsy this year, but still can't decide on where to go? Well, you're in luck! This is our Top Five Mountains to DIY for Beginners.

1. Mt. Ulap

Ridge walk to Gungal Rock
Gungal Rock, considered  one of the three summits of Mt. Ulap
Considered to be the mini-Pulag of Itogon, Benguet, Mt. Ulap offers spectacular views of the Cordillera. Experience ridge walk, confidence challenge pose - atop Gungal Rock, and mess around in the beautiful grassland of Mt. Ulap.

Location: Brgy. Ampucao, Itogon, Benguet
Difficulty: 3/9 
Rope Segment: None 
How to get there: 
  • Bus ride to Baguio - P455.00, 5-6 hrs
  • Taxi Ride to Jeepney Terminal going to Brgy. Ampucao - P40.00, 10 mins.
  • Baguio City to Brgy. Ampucao - P35.00, 30 - 40 mins


Caution: Having your photo taken atop Gungal Rock is an epic experience but exercise caution as one mistake can be fatal. 


2. Mt. Tagapo

You don't have to go out of CALABARZON to experience getting on an island to climb a mountain.

Mt. Tagapo or to quote Jose Rizal's, "Susong Dalaga" is located in the island of Talim in Laguna de Bay.

Mt. Tagapo offers a very different experience as you have to ride a barge for an hour to reach the jump off. Enjoy the stunning view of Laguna de Bay and the city lights of nearby Metro Manila.

Location: Brgy. Janossa, Talim Island, Binangonan, Rizal
Difficulty: 2/9
Rope Segment: None
How to get There:

  • Alight in Shaw Boulevard, proceed to the jeepney terminal across Starmall
  • Ride a jeepney  going to Binangonan, tell the driver to drop you off at Pritil (Fish port) P40.00, 1 hour
  • Ride the barge going to Brgy. Janossa. P30.00, 45 mins
Concern/s: If planning a day hike, make  sure that you reach the port early as the barge has to be full before it sails. Another is that, due to its relative isolation, it is quite difficult to leave the island immediately in case of emergency. You'll have to charter a barge if you have do so which will cost you about P1,500.00.

3. Gulugod Baboy

Want a cute climb then take a dip afterwards? Then Gulugod Baboy is for you. 

A fairly easy climb with a spectacular view, GB (Gulugod Baboy) has grassy landscape were one can roll over like Heidi (batang 90s).

Spend the night and watch as the sun disappears in the horizon. After the climb, you can go to the Philpan Resort for a refreshing swim to conclude your trip.

Location: Anilao, Mabini, Batangas
Pardon my poor photography skill
Difficulty: 2/9
How to get There:

  • Ride a bus going to Batangas City Grand Terminal, P160.00, 3 hrs
  • Jeepney to Mabini, P35.00, 1 hr
  • Tricycle to Jump-off, P50.00, 30 mins. 
Concern/s: Based from our experience, dispatchers in the Batangas Grand Terminal will try to persuade you to rent an entire jeep to take you to Philpan Resort which is also the main landmark to the jump-off. This will cost you about P500.00 - P600.00. But if you don't mind the little hassle, continue with our guide on how to get there. 

You may be tempted to roll over  and pitch your tent immediately on the grassland when you reach the campsite, but since there are many cows around, be watchful for organic mines (if you know what I mean). 

4. Mt. Manalmon and Mt. Gola

Satisfy the adventure junky in you by having these two mountains at your bucketlist. 

These two mountains do not have great heights but the various activities that can be done here compensate for it. Enjoy the  spectacular view of the flatlands of Region 3, and the snaking Madlum River. After the climb, be sure to  experience river wading, monkey-bridge crossing and even spelunking in many caves of the Biak-na-bato National Park. 

Location: San Miguel, Bulacan
Difficulty: 2/9
How to get there:
  • Go to Cubao and ride a bus going to Cabanatuan P140
  • Alight to Brgy. Kamias, San Miguel, Bulacan
  • Ride a tricycle going to the jump-off (kinda pricey) P200
Special Concern

Since Manalmon and Gola are situated within the Biak na Bato National Park, every climbers are required to secure a written permit days prior to the actual climb. 

5. Mt. Marami

 Looking for a climb in Cavite? There is more to Cavite climbing scene aside from Pico de Loro.

Mt. Marami is considered the twin sister of the more popular Pico de Loro. Experience awesome view while sitting atop the famous Silyang Bato.

Location: Maragondon, Cavite
Difficulty: 4/9
How to get there:

  • Ride a bus going to Naic Grand Terminal P40.00
  • In the grand terminal, ride a jeep going to Magallanes, P50.00
  • Alight in Brgy. Ramirez and ride a trike going to the barangay hall. 

Silyang Bato


Concern/s:

Mt. Marami is being true to its name. Maraming lakad, maraming liko, maraming chance para maligaw, maraming baka rendering some parts of the trail to be eroded and become muddy when there is a downpour. 


We'll update for the individual post for our climb for each mountains. Be On Look Out! 

Featured Post

A Quiet Place: Sta. Lucia Falls

A Quiet Place: Sta. Lucia Falls A Quiet Place A Quiet Place? Why would I want that? Isn't that scary? No, of course. (Thanks...